Saturday, 19 January 2013

Windscreen Dramas

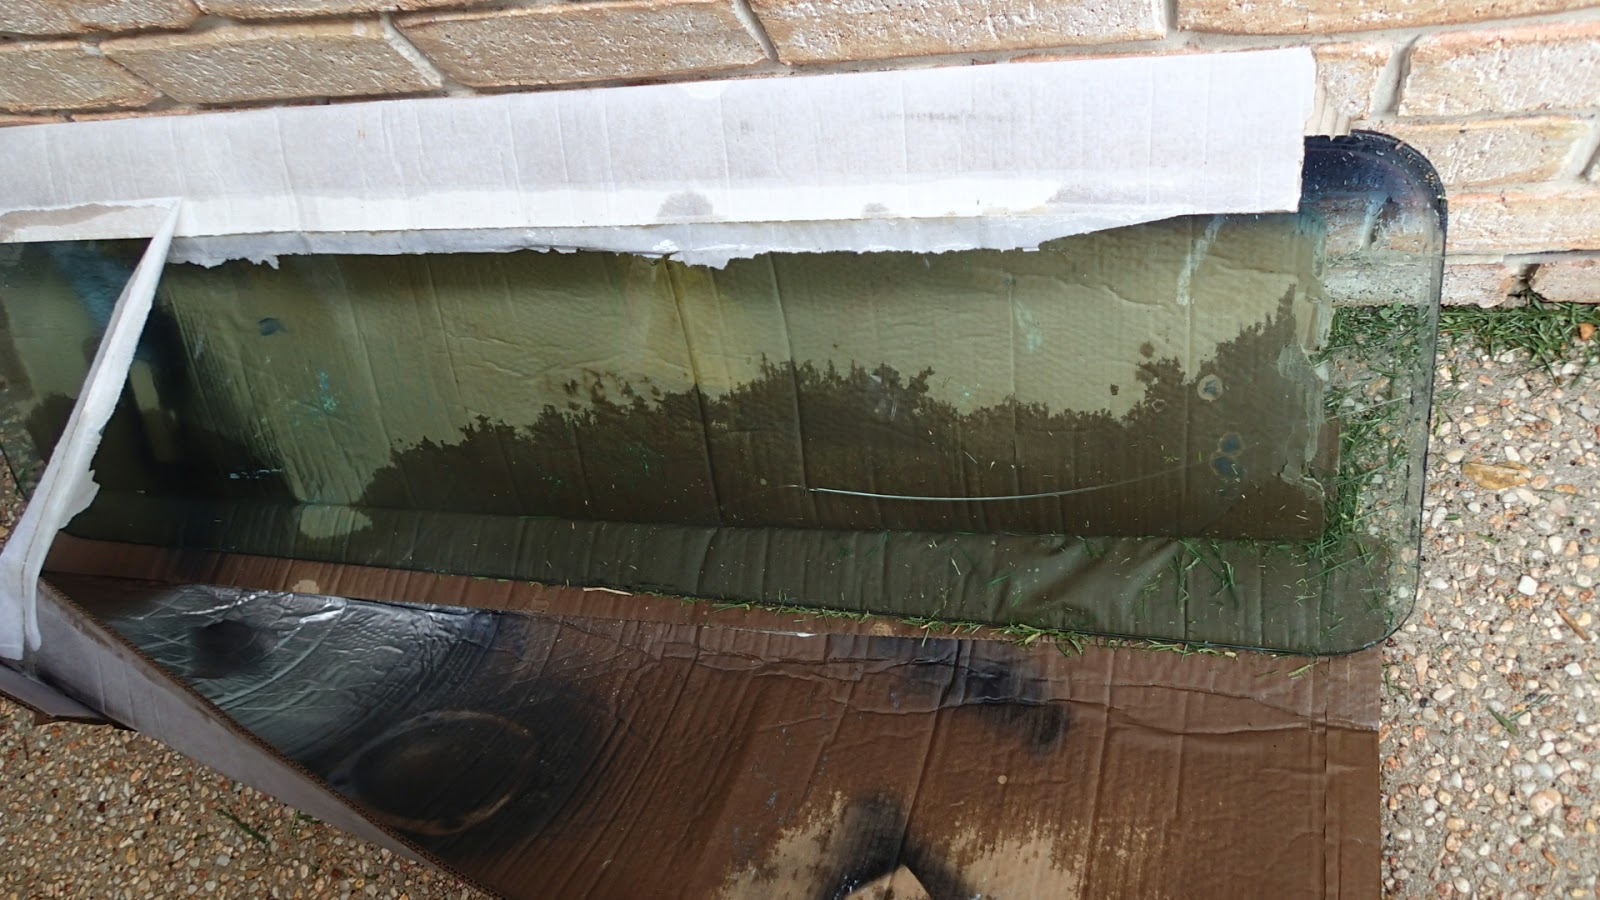
Putting the original windshield back into the frame in teh backyard - all was going pretty well until - CRACK! Pushed too hard - doh!


 Here is the cracked windshield, luckily they were only $120 to replace - phew! When it broke I had visions of something around $300 for a new one.


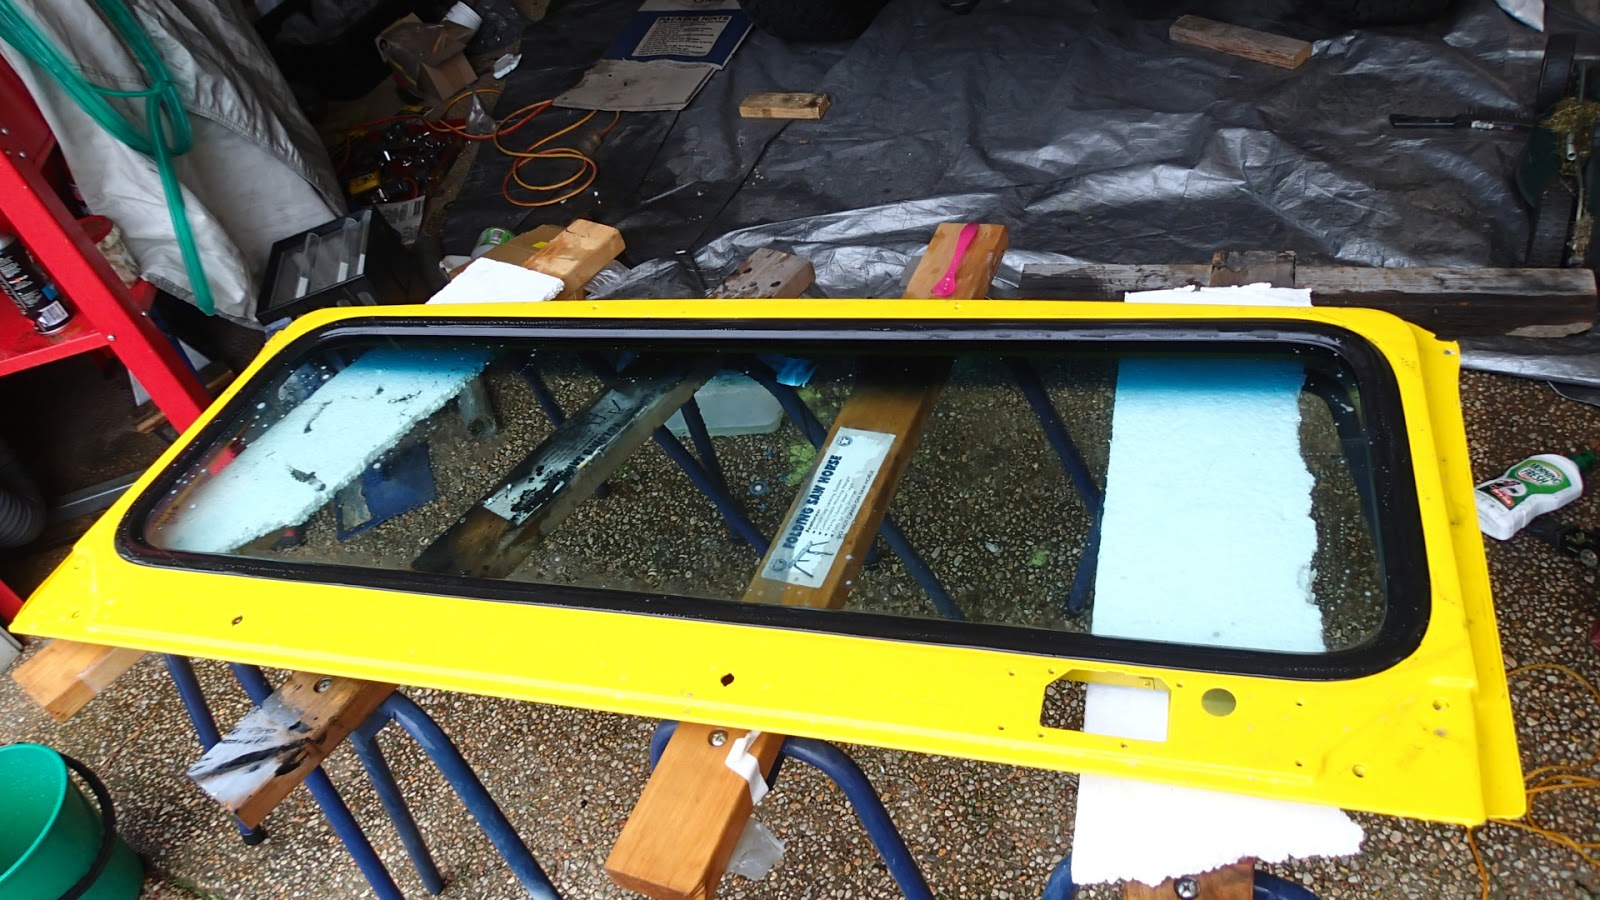
Below is TAKE 2 of windshield installation with the new windscreen. Key is to use a thin piece of rope, plenty of soapy water and very little pressure, the window is sucked into the frame - I did not use any rubber window cement as the rubber makes a good seal. The rubber must be fitted to the window before you begin as well.


Below - Windshield successfully installed!


The wioers and wiper motor and hinges were then fitted before insatlling into the vehicle. This is one of the few activities that required 2 people during the rebuild. The rubber you can see is 2nd hand for $70 delivered. They are rare as hens teeth and a new one costs $200+.


Tuesday, 15 January 2013

Painted parts and chassis touch up

 Above is the fuel tank, blasted and then painted in 2PAC Black, coupled with a rinse ot it is like a brand new one,

Here are more of the underbody parts painted and ready to install. The painter originally quoted to paint the body panels but I kept slipping more various random underbody panels which he  ood bloke!did as part of the original quote - good bloke!


The above pictures are where I decided to patch up some of my dodgy earlier work. Because I had painted some of the KBS BlackTop when it was too humis if had bubbled and run. Thus to fix this I sanded back the chasis in a few sections at the front where it would be most visible and painted it with Acrylic black. It should more than do the job.

Friday, 16 November 2012

Picking up the body from the shop

 
In order to prevent any risk body movement causing cracking in the paint on the body it was decided to load the chassis onto a trailer and take it to the panel shop!
 

The picture below shows the body fitted to the chassis. it sheld on by 6 HT bolts. I have blown up the picture below so you can see the paper masking clearer. As the painter was touching up some work on the rear I didnt notice it was wet and leant on it...doh!..It left my fingerpring pattern on the paint at  the rear. Whilst it will always be there..its barely visible...it will at least be a good story!


Body and Chassis back at home

 
ody was married up with the chassis at the workshop. Here my daughter performs a quality control inspection, toddlers a good for getting into those tight spots to inspect...lol...she does love colour though. 
 
First the dash steering column, gearbox cover plate and boots all wen ton.


Brake booster and air lines are installed. Next was the wiring loom. The biggest issue is trying to not damage the paint work. During disassembly I was didn't care what knocked into what, but now - slow and methodical is the order of the day.


 Below shows the myriad of yellow parts to be installed. These vehicles have soooo many panels.


Saturday, 29 September 2012

Reconditioning the Rear Diff


After testing the play in the rear pinion flange decided to re-build the rear diff.


Photo above is before and photo below show diff removed from the vehicle. Basically jack vehicle up, remove rear wheels, remove nuts holding axles, pull axles out and then unbolt diff centre and remove.
 
 
I stripped down the BJ42 diff and the HJ75 diffs that I had to salvage components.


 The ring gear and carrier were exactly the same even the same markings.


This is the ring gear from the 75 series diff, lots of pitting and ruting. It was also slightly warped out of tolerance. The runnout for the ring gear must be less than 0.1mm and this gear was slightly out. I think the pitting was from excess water in the diff oil, the diff had signs of water in the oil - who knows for how long it operated like this.

 
The ring gear below from the older 40 series diff was in much better condition so I reused it and the carrier.
 

Below are the side gears from both diffs. 
 
  The side gears below are from the original 40 series diff - they are trashed - I think this kind of damage occurs when one wheel is spinning due to no LSD and it then grabs onto something and the shock load causes damage to the gears. This would be more pronounced the greater the play in the gears due to wear.

Next are the two pinion gears which as you can see from the pic are different, both will fit the outer housing but require different bearings. The gear on the right is from the 75 series and uses a crush sleeve whilst the one on the left uses shims to set the bearing preload. I went with the crush sleeve method because the gear was in better condition, additionally the shim method will maintain the preload longer but it is much more of a pain in the ass to set. you have to build the diff, test the preload and if not in spec disassemble and put a shim in and rebuild and test again - continuing the process until the preload is set.


Getting the bearing off the pinion gear was a pain in the proverbial. I had to buy another gear puller and use a pipe and timber braces to belt it off. Dont panic fans I didnt apply force to the spline or the threading at the top of the gear - I am not that silly - made that mistake on the axle bolts after belting them with a hammer.


Broke a gear puller trying to get this bearing off. Hammer and chisel did the job in the end. Lucky Toyota has thought of Garage Gorillas like me and placed notches in the carrier to allow for such surgical removal methods,
 

Bearing was totally destroyed during removal.


Using gearpuller to remove bearing. You can see the bearing on the right has aleady been "removed" well partly, with the inner race remaining. I had to use a hammer and chisel and gradually wedge the inner race off.


Here I am in my 3rd world garage with my Malaysia safety boots on (as my mate constantly points out to me)


Diff above assembled and on makeshift stand. Below I am testing the preload with a luggage scale and wrench. As I didnt want to fork out $230 for a small Torque wrench that would be used once in a blue moon I used the same method that I used on the front hubs. Thus to calculate the Torque I used the age old Torque = Force x Length, calculation.


Using a dial guage and stand to measure the backlash which was required to be within .15 and .20mm. To make adjustments to the backlash requires moving the notched dial (shown in the centre bottom of the photo below). Again this required a tool which I could not find so I fabricated one from a shifter by drilling holes in it and using bolts.





Saturday, 4 August 2012

Update - Wiring loom and door frames

Here are the wiring looms after cleaning. They were cover with 30 years of mud and grease.


Decided to save cash by reconditioning the radiator, below is the primer going on.


This s the condition of the 1/4 glass frames from the door. Plenty of rust and failing paint.


The pic below shows the steering column after blasting back, spraying with primer and then painting in gloss black enamel. Decided to do these parts in non 2-pak as they are not as exposed to the elements. Remember the whole vehicle was painted in enamel, nowhere as strong and UV resistant as the new 2-pak paint will be. Even the gloss enamel out of the can is superior to the original paint.

Below shows the handbrake lever, master brake cylinder and heat shield, all blasted back, primed and painted.

Here are the 1/4 glass dooor frames from earlier, blasted and primed ready to take to the Panel shop for spraying in 2-pak as these components are exposed to the element 24/7.


Here is a pic of the vehicle so far. Beside the yre is the radiator painted and ready to install.
In the pic below you can see the exhaust system. Lucky it waas stainless or galvinised and only required grinding back (to remove the caked on mud) and then painted in manifold black paint which wil be heat resistant and not peel.

Body in the Panel&Paint Shop

Here are some pics of the body in the Panel & Paint Shop (2 Pak Repairs 6/36 Kenworth place Brendale QLD 4500). The first two sho wthe body blasted back to bare metal to show the ugly underside. Surprisgly not too much rust, mainly 30years of the good idea fairly with drill holes everywhere where the latest fad of flares, stereo etc have ben added. Plus the numerous dents over 30 years of us. All these dents and holes need to be patched. The two rear 1/4 panels were completely replaced with new ones due to the amount of bog in them. 


 Dont panic fans the yellow paint in the pic below is etch primer, not the final colour, just there to stop rust. At this point the body still has plenty of panel work left before it is good to go for paint.

Heres a pic of me after sanding back the roll bar. The roll bar had foam glued all over it, easily removed with an air powered sander. Did take 90 min though to remove all that crap.