Saturday, 4 August 2012

Update - Wiring loom and door frames

Here are the wiring looms after cleaning. They were cover with 30 years of mud and grease.


Decided to save cash by reconditioning the radiator, below is the primer going on.


This s the condition of the 1/4 glass frames from the door. Plenty of rust and failing paint.


The pic below shows the steering column after blasting back, spraying with primer and then painting in gloss black enamel. Decided to do these parts in non 2-pak as they are not as exposed to the elements. Remember the whole vehicle was painted in enamel, nowhere as strong and UV resistant as the new 2-pak paint will be. Even the gloss enamel out of the can is superior to the original paint.

Below shows the handbrake lever, master brake cylinder and heat shield, all blasted back, primed and painted.

Here are the 1/4 glass dooor frames from earlier, blasted and primed ready to take to the Panel shop for spraying in 2-pak as these components are exposed to the element 24/7.


Here is a pic of the vehicle so far. Beside the yre is the radiator painted and ready to install.
In the pic below you can see the exhaust system. Lucky it waas stainless or galvinised and only required grinding back (to remove the caked on mud) and then painted in manifold black paint which wil be heat resistant and not peel.

Body in the Panel&Paint Shop

Here are some pics of the body in the Panel & Paint Shop (2 Pak Repairs 6/36 Kenworth place Brendale QLD 4500). The first two sho wthe body blasted back to bare metal to show the ugly underside. Surprisgly not too much rust, mainly 30years of the good idea fairly with drill holes everywhere where the latest fad of flares, stereo etc have ben added. Plus the numerous dents over 30 years of us. All these dents and holes need to be patched. The two rear 1/4 panels were completely replaced with new ones due to the amount of bog in them. 


 Dont panic fans the yellow paint in the pic below is etch primer, not the final colour, just there to stop rust. At this point the body still has plenty of panel work left before it is good to go for paint.

Heres a pic of me after sanding back the roll bar. The roll bar had foam glued all over it, easily removed with an air powered sander. Did take 90 min though to remove all that crap.


Monday, 21 May 2012

Putting in the new clutch

 The picture below shows the old flywheel - which was in average condition
 Here I have the rear oil seal off cleaning up the area around the seal.
 The orange ring is the new seal installed - pretty straight forward just a few bolts.
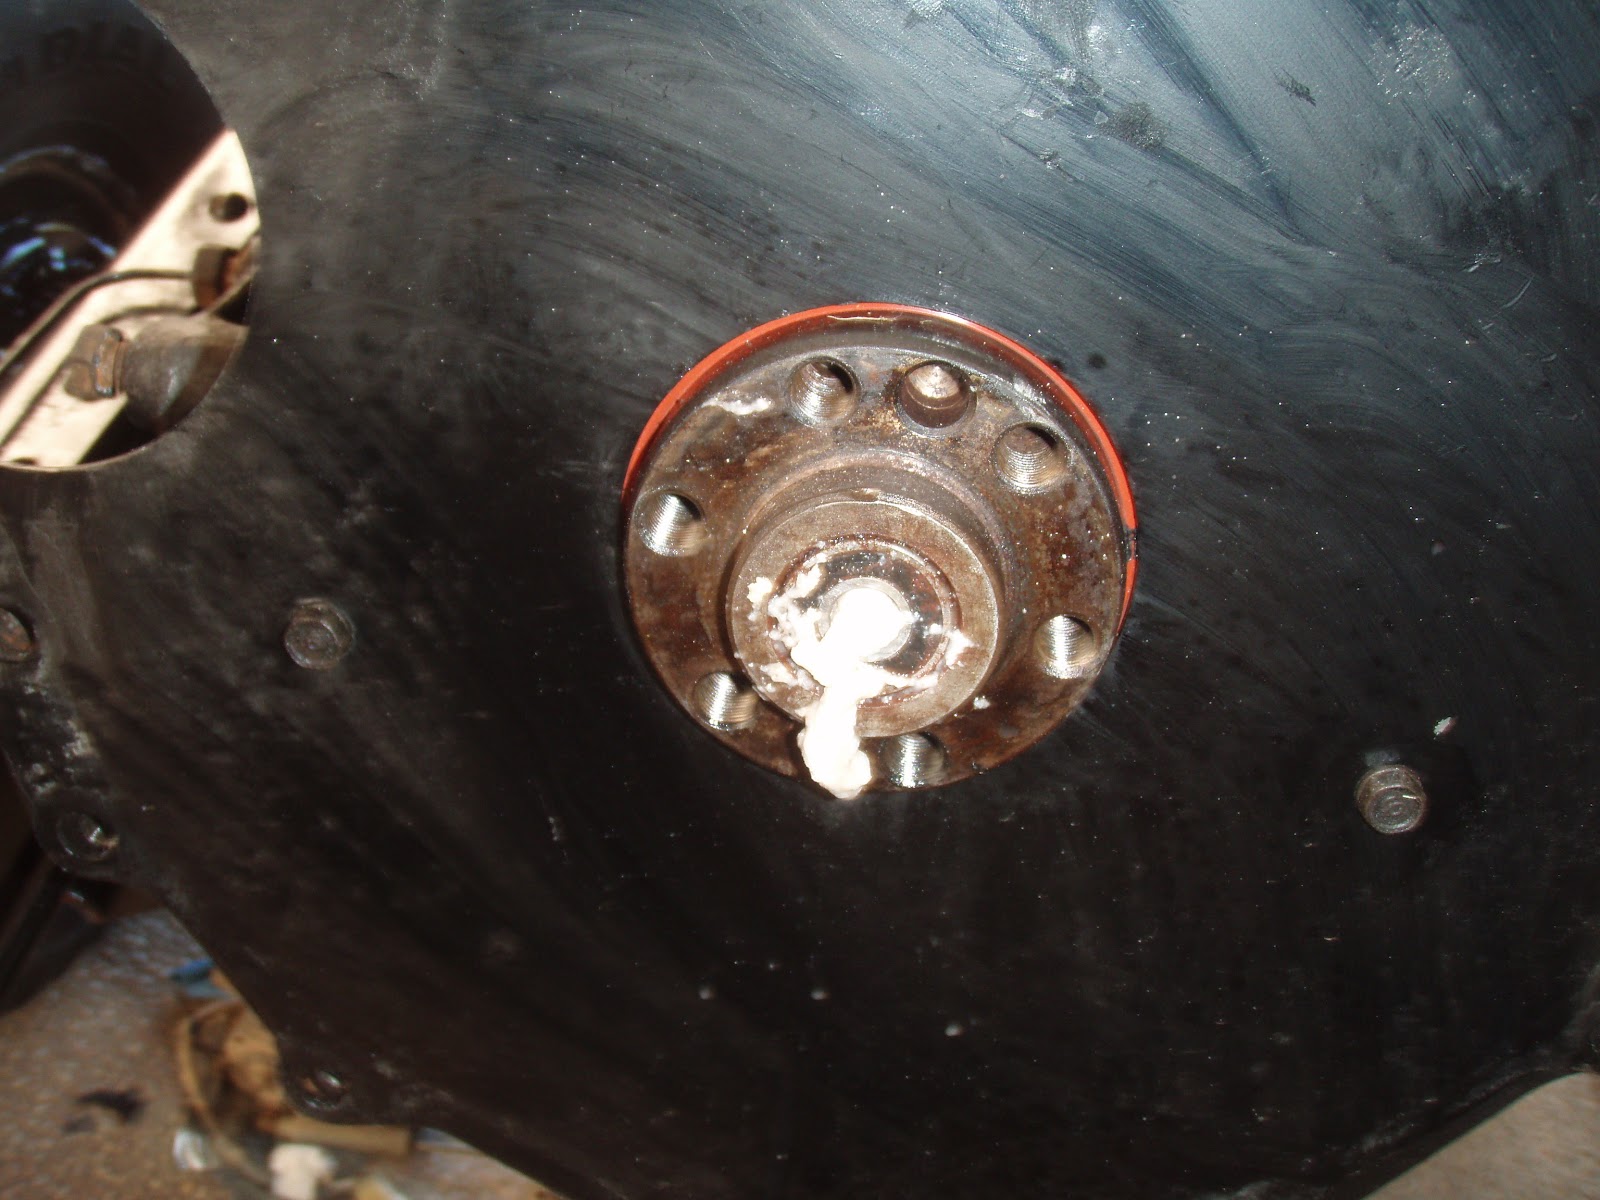
 So above and below you can see the spigot bearing in the centre which needs to be replaced with the clutch. However I did not have the right SST (Specialist Tool) as Toyota call it to remove the bearing. The tool costs $50, so of course I looked for another option. I searched the net and dudes were saying use wet bread packed into the hole and then hit a socket into it. Sound crazy. But it works.
 The picture below shows that after three blows and packking it three times with wet bread and the bearing was out. Dudes on the internet didnt believe it would work etc etc but it is quite simple and infact very ingenious. It uses hydrostatic pressure to transmit the force of the socket blow to the water. The bread just holds the water in the hole.

Above is the new clutch ready to install and below is the newly machined clutch, looks pretty flash. The newly installed spigot bearing is also visible.

 Here the spigot alignment tool is used to centre the clutch plate.
 Then the cover is simply installed and the bolts tightened. Overtightened one and it snapped off in the flywheel - too bad not gonna drill it out plenty of bolts to hold clutch on - I will fix it next clutch change in 100,000ks.

Sunday, 13 May 2012

Putting In Engine


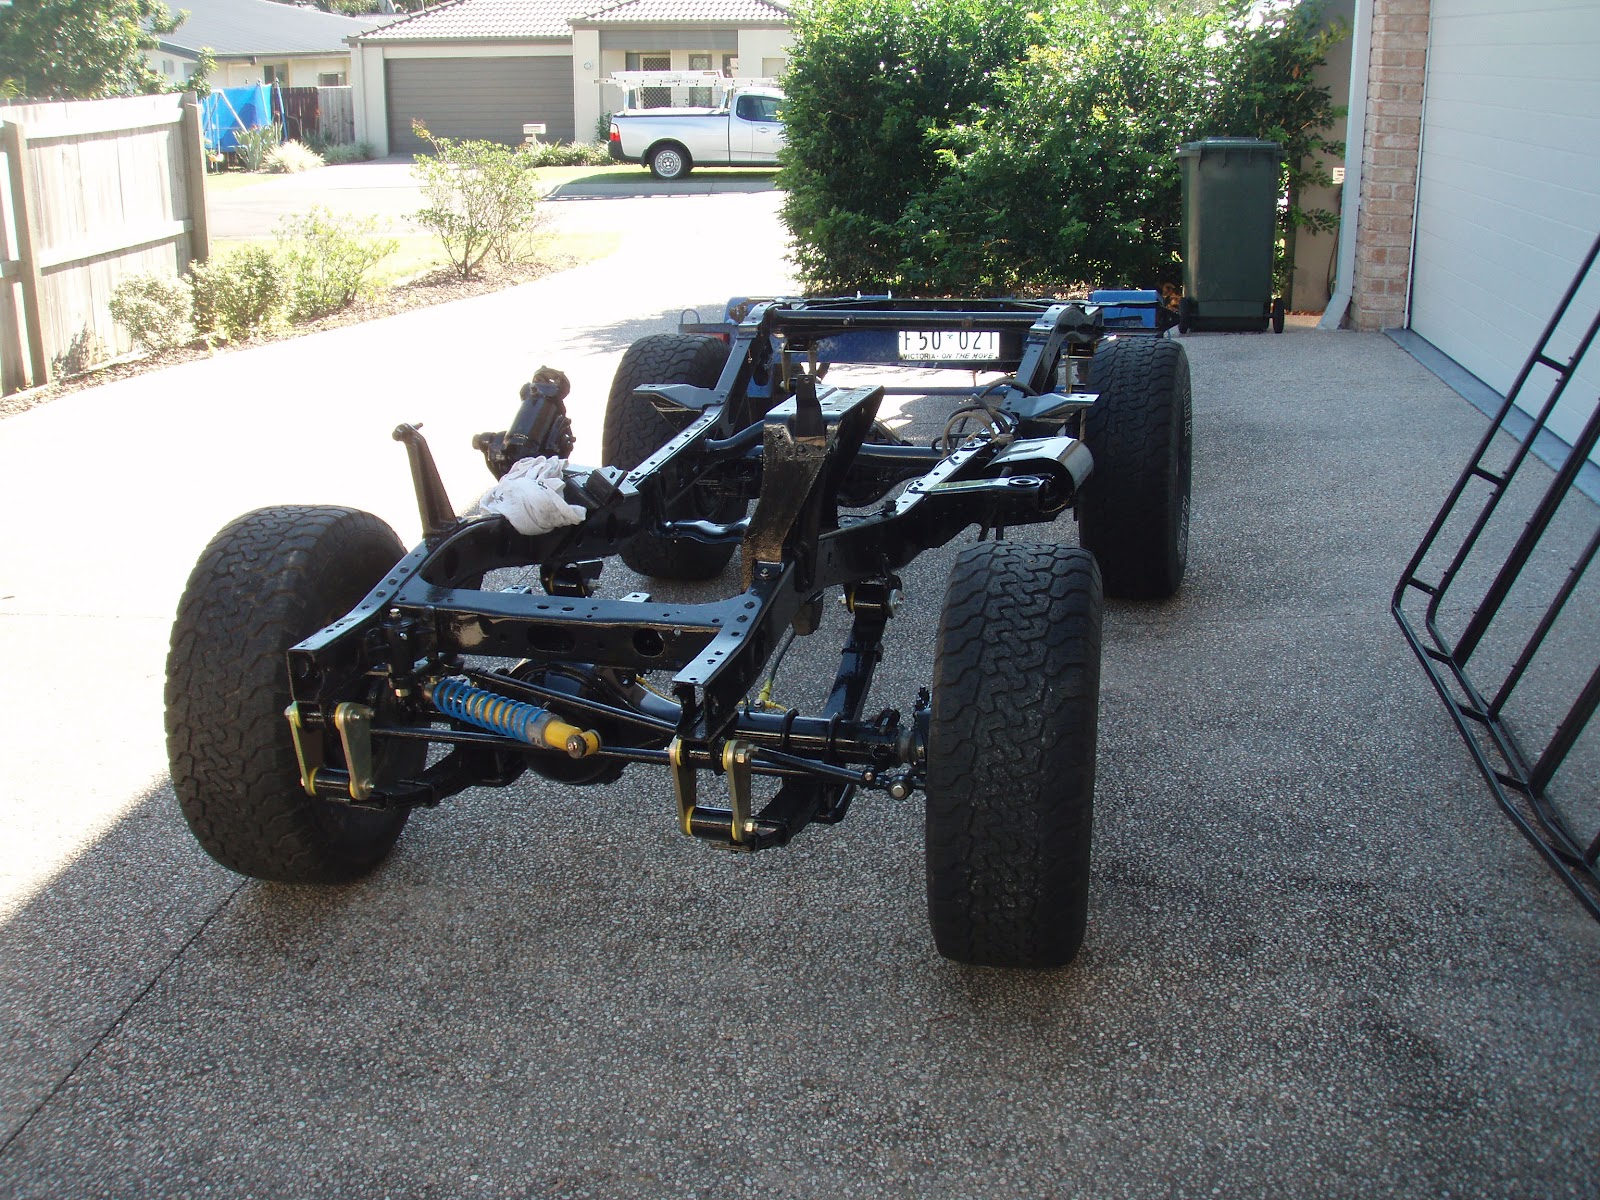
Chassis finaly rolling again


The body is finally rolling. Front and rear axles fitte dwith 2inch lifted shackles. New 32inch mud tyres itted to ex-BJ73 chrome rims. Tough dog steering damper fitted to front.


Before
After

Wednesday, 9 May 2012

Front Axle is Completed

As you can see in my last post on the front axle it was in poor condition. Externaly the paint was flaking, it was heavily rusted and the seals had leaked mixing the knuckle grease, diff oil and mud/water etc into a horrid concoction - there was also 30 years of grease and leaked brake fluid all over the place too!


The above two pictures show the axle stripped with undercoat. Didnt need to strip the diff luckily. 
Knuckle housing installed with new bearings and the control arm.
Packed full of grease brake backing and spindle attached.

Axle painted, new rotors, hubs, wheel bearings installed.