Wednesday, 18 January 2012

Rust Blast Applied


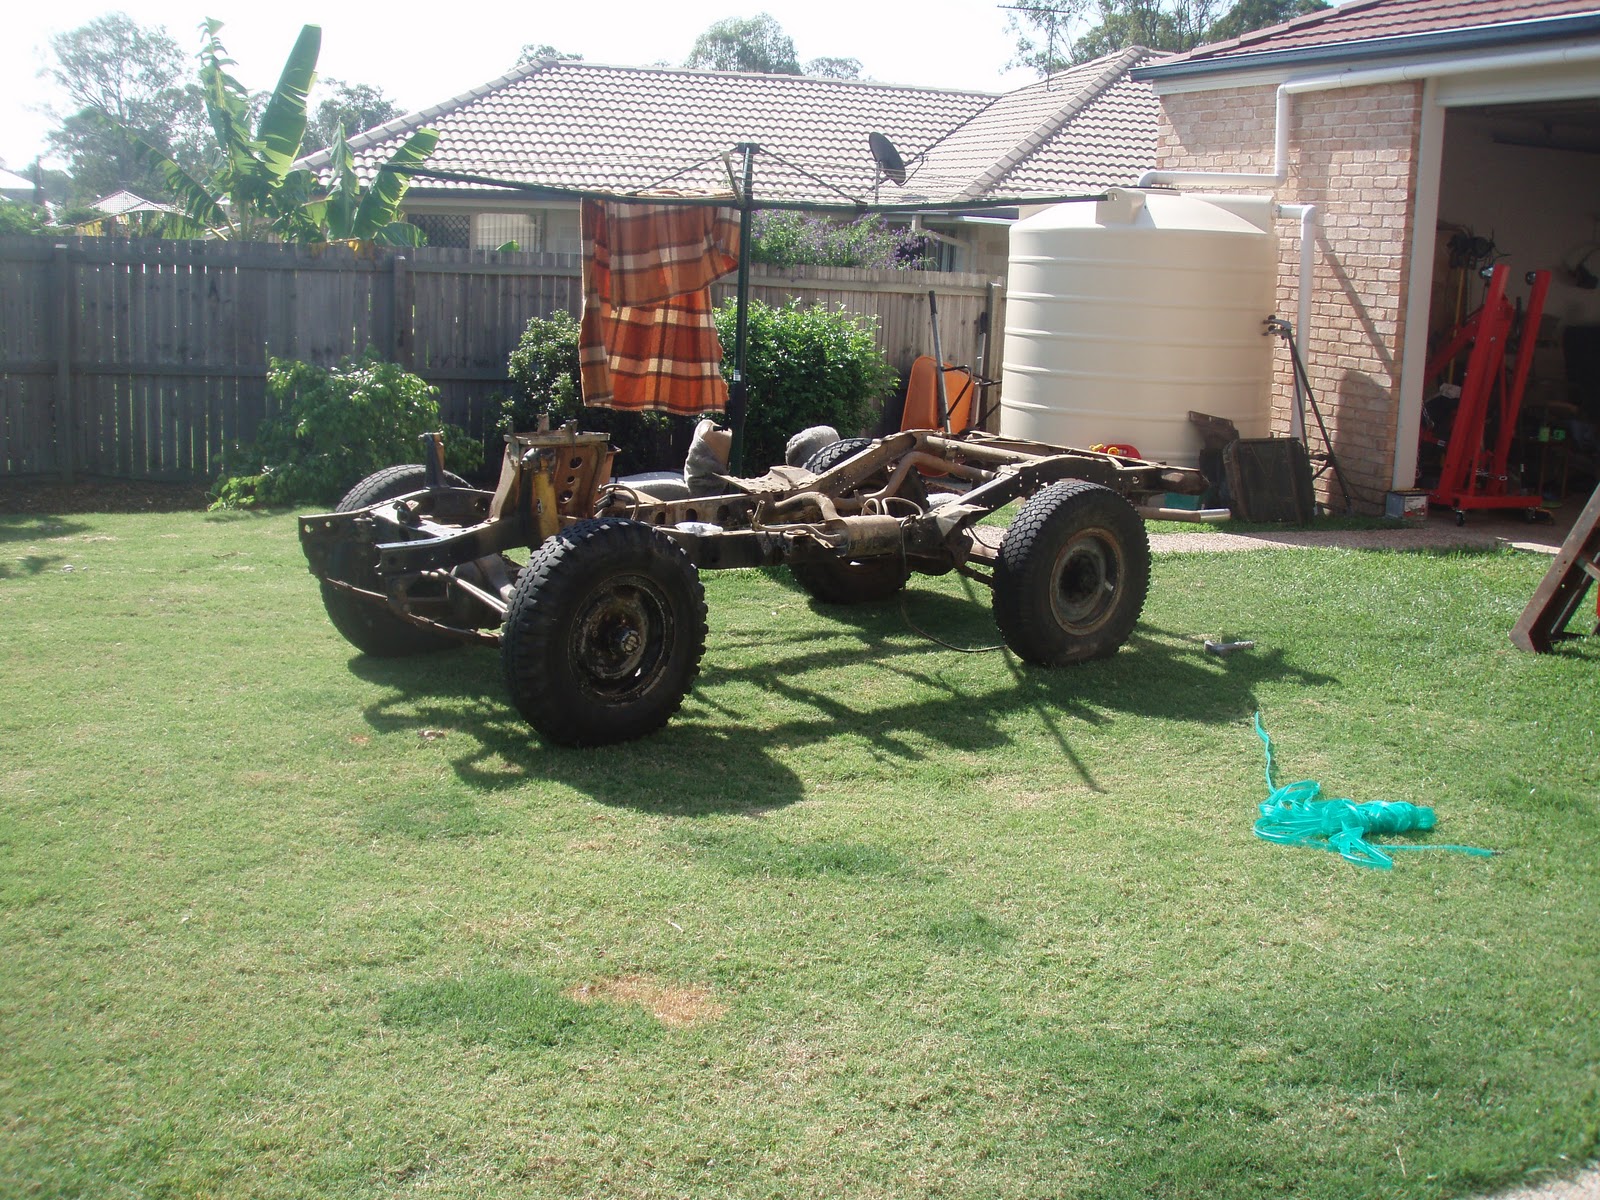
The top pic shows the chassis completely stripped and washed with AQUA CLEAN by KBS Coatings. It is a three part system. The second part of the system is washing down in a product called RUST BLAST, it is a self-etching primer that also neutralises the rust. The  white film you can see is the zinc cozting that is applied over the metal to protect it for upto 30 days prior to painting. The final coat will be RUST SEAL which bonds to teh steal and creates a incredibly hard surface, in gloss black.

So to apply the RUST SEAL It needs to be below 28 degrees and 60% humidity!!!! And that just aint happening here in Rainy QLD where it rains more than Melbourne!! Its either below 60% humidity and 30+ degrees or 25 degrees and 85% humidity! Cant win...only got max of 30 days before I'll have to recoat with RUST BLAST!

Preparing chassis for Rust Blast


After using paint stripper the diffs and springs had to be removed from the vehicle. Getting what was left of the nylon bushes out of the frame was a real pain in teh ahole. Oh did I mention the difficulty in getting the tie rods to seperate and in getting the forward steering box arm to seperate? Well I discovered, much like primates do, that if you dont have a heavy enough hammer then just get a bigger wind up and smash the component harder with the hammer you have. Yes, yes, for all you vehicle buffs out there I did use a tie rod seperator on teh tie rods but the steering box required a crow bar and some crazy hammer swings to seperate, fortunately I am replacing it!

Paint stripping the chassis

I used CAMS paint stripper to remove the many layers of paint. After 30 years the undercoat on the chassis was like concrete and the paint stripper did a good job of removing most of it. The CAMS paint stripper is very potent, the smallest drop on your arm feels like someone has stabbed you  with a burning cigarette. But it was neutralised with water and the frame was just a mater of hosing down to remove the paint and stripper.

Tuesday, 10 January 2012

Removing the old Toyota 3B diesel


Chinese engine hoist hasnt fallen apart yet!


I am replacing the engine because it has low compression and all tests point towards worn cylinders, and probably everything else as the engine has 360,000km on the clock and  its the original engine.

Now begins the stripping back and painting of the chassis and diff housing.

Removing body tub from chassis

I used the engine crane to lift the body from the chassis and place it onto stands. The tub is surprisingly light, prob around 70 kg.

Body is fully gutted


Removing all the components from the body was a tedious task. Luckly I did not find any additional rust issues  This vehicle has sooo many small panels everywhere that required removing and inspecting. I am going to have to have each panel sprayed before assembling, then sparayed again with the main body. Luckily my garage is large enough to accomodate all of the panels, additional rear doors, the new engine, engine crane and other tools etc.

Friday, 6 January 2012

The Ominous wiring loom has been quelled


The wiring loom is in 3 main pieces - engine bay, under dash and along chasiss rail for rear lights. The wiring loom is in very good condition and will only require minimal tidy up here and there, especially around the battery which has 30 years of added on extras and cut and splices and other such scallywag behaviour.